1. How Long Does It Take to Assemble a Gazebo?
The time it takes to assemble a gazebo depends on the type of gazebo, its size, and your experience with DIY projects. Here’s a breakdown of the typical assembly times for different types of gazebos:
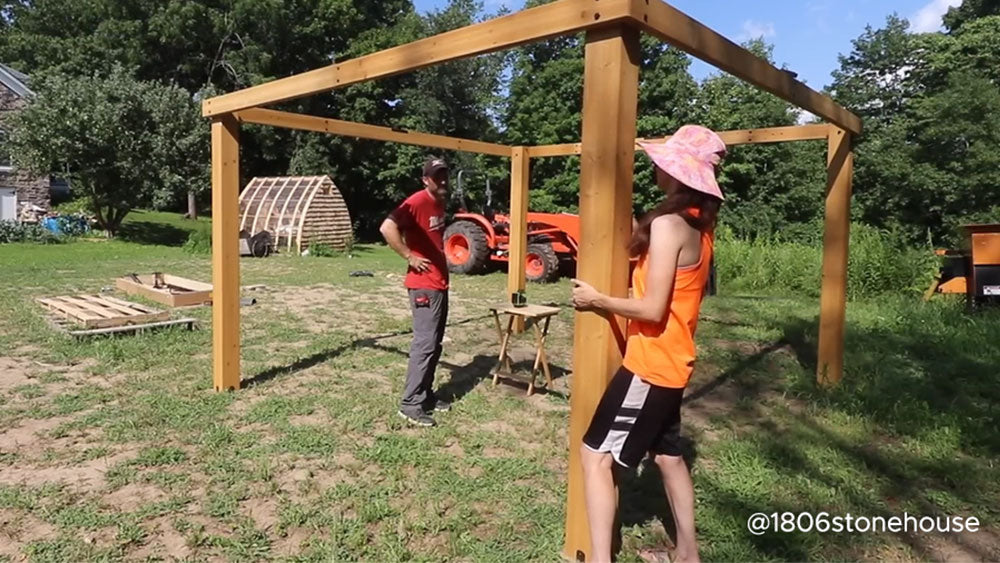
A wooden gazebo typically takes the longest to assemble because of the more complex construction and heavier materials. On average, assembling a wooden gazebo can take anywhere from 8 to 16 hours. If you're building a larger or more intricate design, the process may take up to several days. These structures often require a solid foundation (such as concrete slabs) and may involve cutting and fitting pieces during assembly. Grill Gazebo
A grill gazebo is generally quicker to assemble than a wooden gazebo because the design is simpler and the materials are lighter. You can expect to spend about 4 to 6 hours assembling a grill gazebo, especially if it’s a pre-fabricated kit. Some models come with built-in shelves and hooks, making them a great addition to your outdoor kitchen setup.
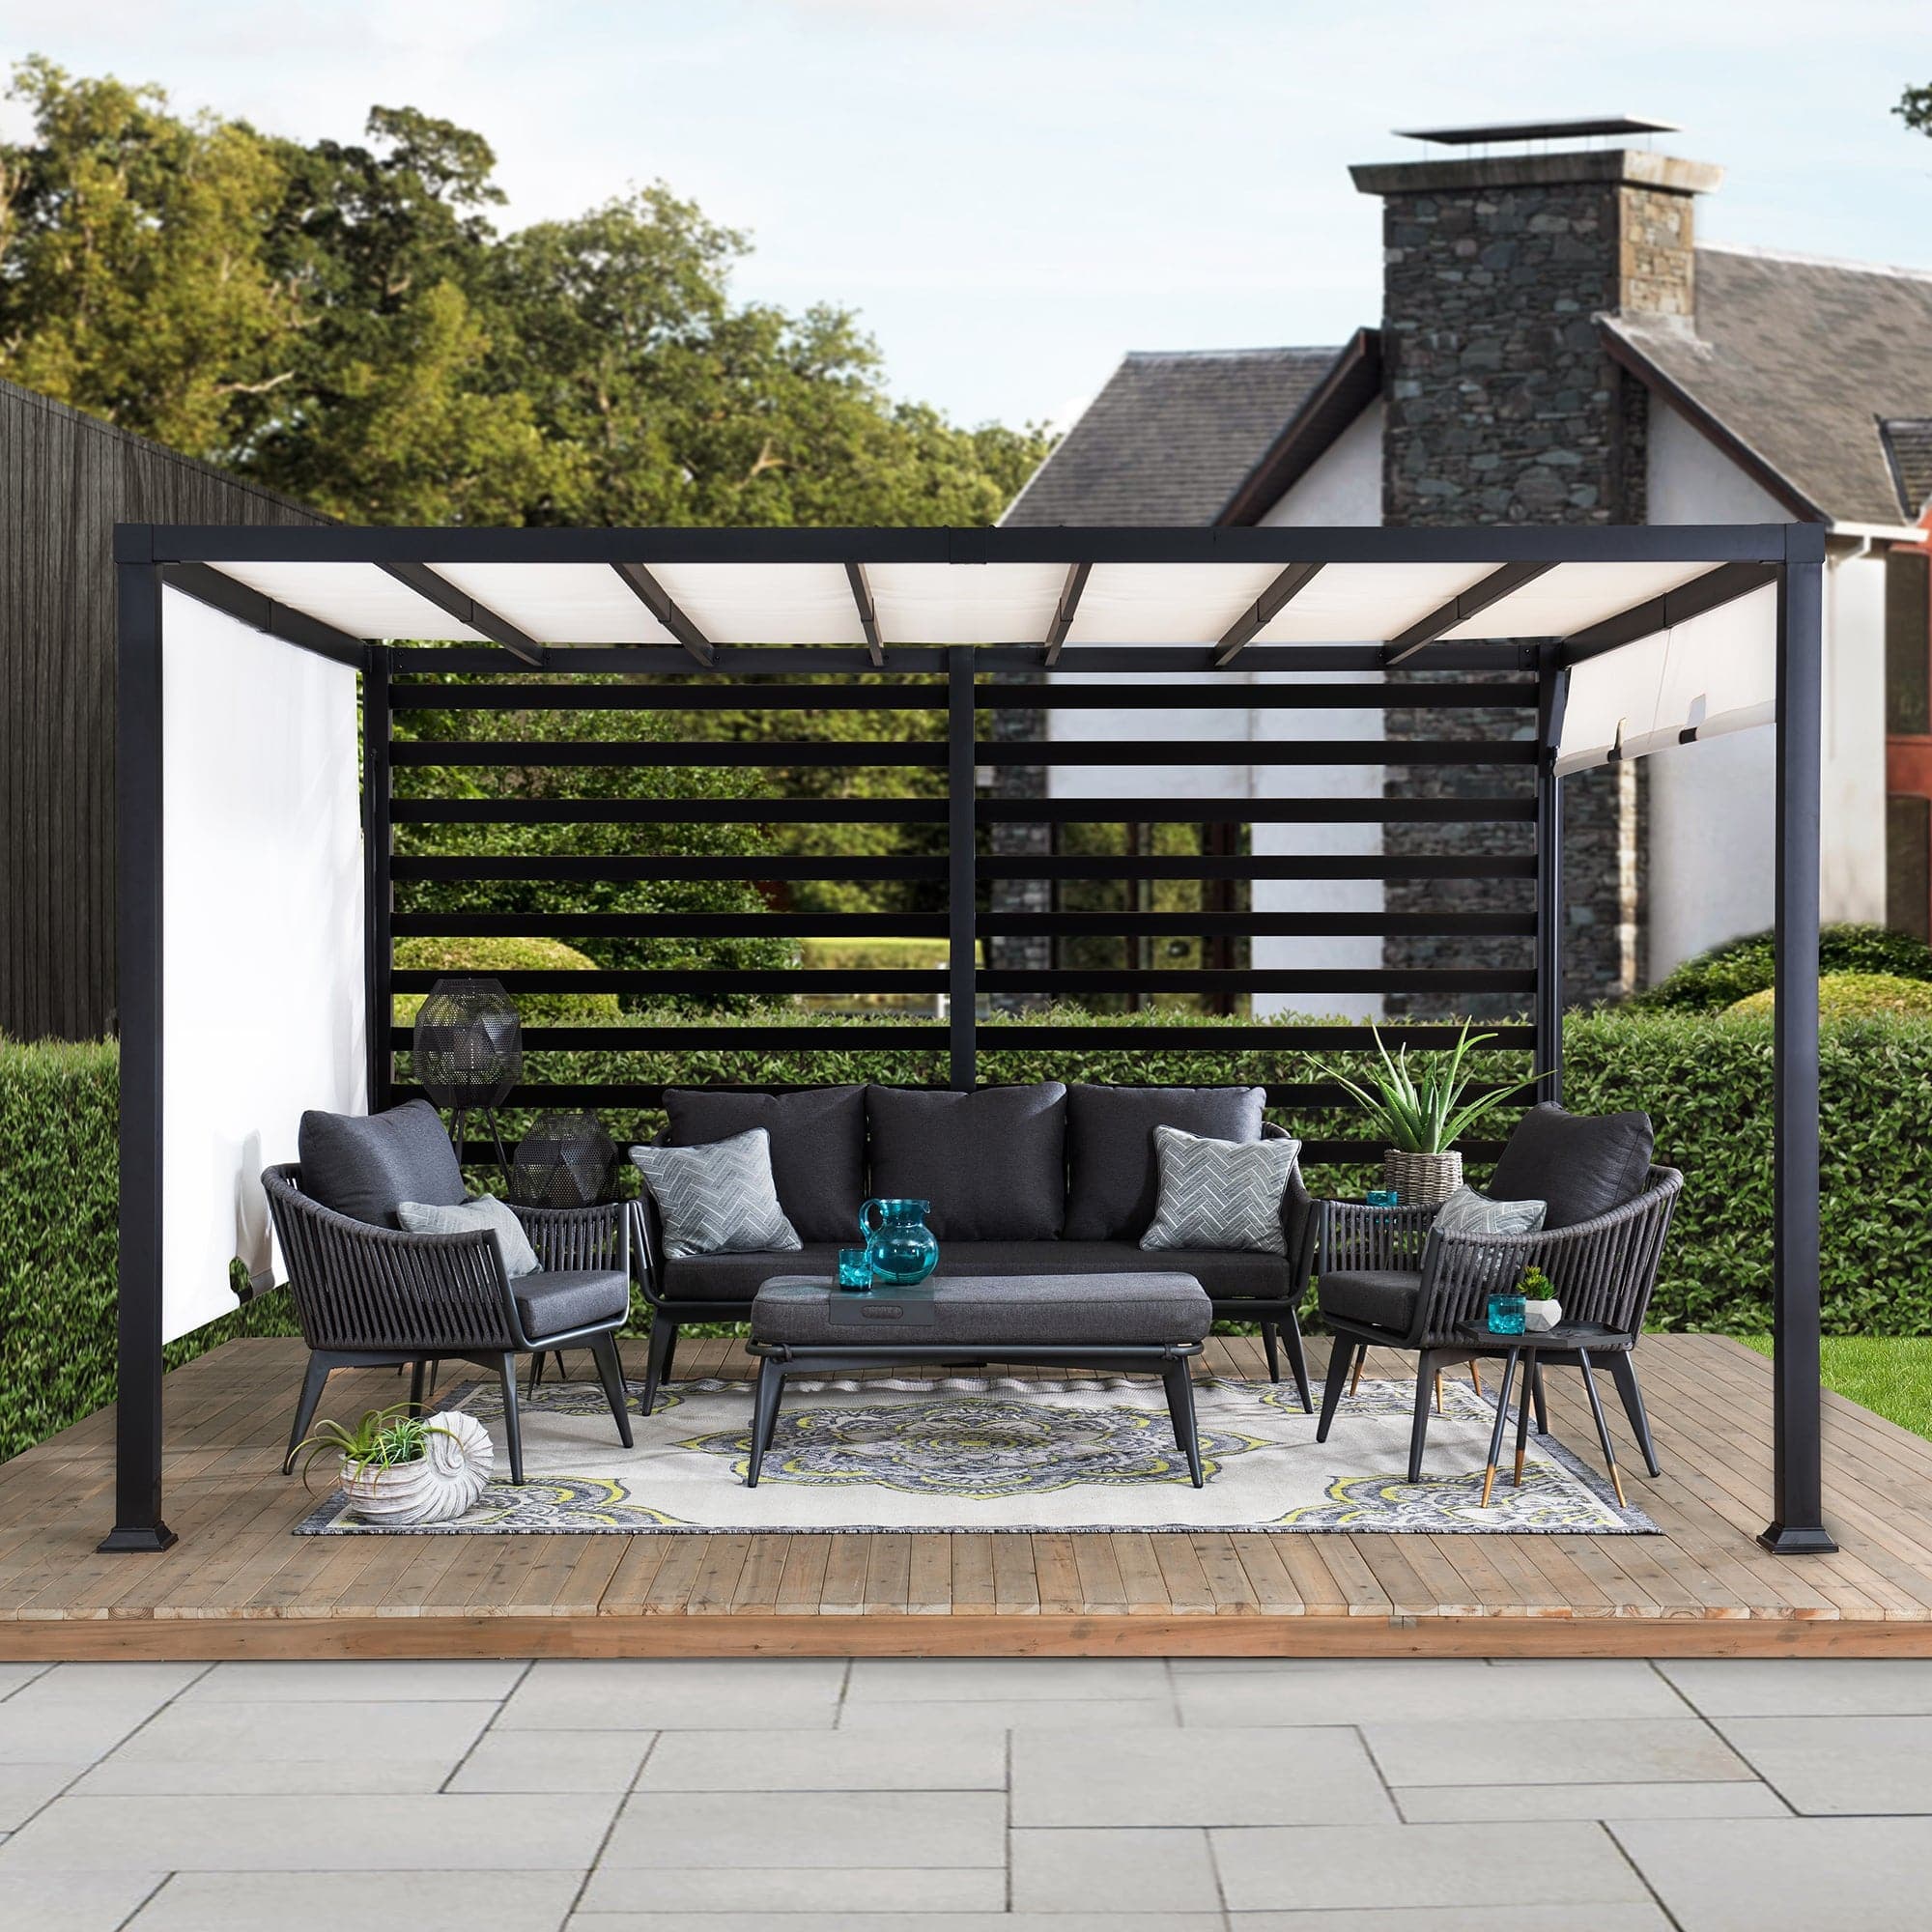
A metal gazebo is one of the faster options to assemble, especially if it's a prefabricated kit with pre-cut pieces. Typically, you can expect to complete the assembly of a metal gazebo in 4 to 8 hours. These structures are often easier to put together due to their lightweight materials and straightforward instructions.
Assembling a hot tub with gazebo requires extra time because it involves both the installation of the hot tub and the construction of the gazebo. Expect to spend about 1 to 2 days assembling a hot tub with gazebo. The hot tub must be placed on a solid, level foundation, and you may need to account for plumbing and electrical work as well.
Canopy Gazebo
A canopy gazebo is the simplest and quickest type to assemble. Most canopy gazebos have a lightweight frame and fabric cover, and can be set up in about 1 to 2 hours. This is ideal for temporary or seasonal use, as it’s easy to disassemble or relocate as needed.
2. Step-by-Step Guide to Assembling Your Gazebo
While the assembly process varies depending on the type of gazebo, most gazebos follow a similar set of basic steps. Below is a general guide for assembling your wooden gazebo, grill gazebo, metal gazebo, or canopy gazebo.
Step 1: Prepare the Site
Before you begin assembling your gazebo, the first step is to prepare the installation site. Ensure the ground is level and free of any debris. For wooden gazebos or metal gazebos, you may need a solid foundation, such as concrete slabs or a wooden deck. For canopy gazebos, a flat, open space should suffice, but consider securing the gazebo to the ground with anchors if you're in an area prone to wind.
 Step 2: Unbox and Organize the Parts
Once the site is prepared, unbox your gazebo kit and organize all the parts by size and type. Ensure you have all the components before starting. For example, a metal gazebo will have a frame and roof pieces, while a wooden gazebo will have wooden posts, beams, and roof panels.
Step 3: Assemble the Frame
The next step is to construct the main frame of the gazebo. For a wooden gazebo, this typically involves assembling the base frame and attaching the vertical posts. For metal gazebos, you’ll usually need to connect the frame pieces using bolts and screws. It’s important to ensure the frame is level and square to guarantee stability.
Tip: Have a second person to help with lifting and securing larger parts, as this step often requires two people for accuracy and safety. Step 4: Attach the Roof
After assembling the frame, the next task is to attach the roof. For a wooden gazebo, this may involve installing rafters and then placing roof panels (shingles or metal sheets) on top. In a grill gazebo or metal gazebo, the roof panels will typically slide or snap into place. Be sure to follow the instructions closely to avoid misalignment. Step 5: Install Additional Features
Depending on the type of gazebo, you may need to install additional features. For example:
- A grill gazebo may include shelves, hooks, or lighting.
- A hot tub with gazebo will require plumbing and electrical connections, which may need to be handled by professionals.
- Canopy gazebos typically only require the canopy fabric to be stretched over the frame and secured.
Step 6: Final Touches
After the gazebo structure is complete, add any finishing touches like curtains, lights, or decorative elements. For a wooden gazebo, applying a protective stain or sealant is highly recommended to extend the lifespan of the wood. For metal gazebos, consider applying a rust-resistant coating for added protection.
3. Tips for Successful Gazebo Assembly
- Follow the Instructions: Gazebo kits come with detailed assembly instructions, so make sure to read through them carefully. This helps prevent errors and saves time.
- Work in Pairs: Many gazebos require two or more people for assembly, especially when lifting heavy beams or connecting large sections.
- Use Proper Tools: Gather the necessary tools before starting. Common tools include screwdrivers, wrenches, a level, and a drill.
- Check for Stability: Once the gazebo is assembled, gently shake the structure to ensure everything is securely in place.
- Consider Weather: Ideal assembly weather is dry and mild. Avoid assembling in strong winds or rain to prevent accidents and ensure accuracy.
4. Maintaining Your Gazebo
After assembly, regular maintenance will keep your gazebo looking great for years:
- Wooden Gazebo: Apply a wood sealant or stain yearly to protect the wood from moisture and pests.
- Grill Gazebo: Keep the grill area clean and check for signs of wear, especially around the cooking area.
- Metal Gazebo: Inspect regularly for rust or wear and treat any affected areas promptly.
- Hot Tub with Gazebo: Clean the hot tub filter regularly, and inspect the gazebo for any structural issues.
- Canopy Gazebo: Remove the canopy during bad weather to prevent damage, and clean it as needed.
 Conclusion
Assembling a gazebo, whether it’s a wooden gazebo, grill gazebo, metal gazebo, hot tub with gazebo, or canopy gazebo, is a fulfilling DIY project that can significantly enhance your outdoor space. Depending on the type of gazebo, the process can take anywhere from a couple of hours to several days. By following the steps outlined in this guide and ensuring you have the right tools and assistance, you’ll create a beautiful and functional outdoor retreat that you can enjoy for years.
Explore the latest Sunjoy styles in our expansive New Arrivals collection, featuring wood gazebos, hardtop gazebos, carports, pergola kits, and more. Seeking inspiration? Check out our Backyard Ideas collection for gazebo ideas and covered patio inspirations. Share your #Sunjoylife ideas with us on Facebook, Twitter, Instagram, Youtube, Pinterest, and Tiktok.


