Why Clearance Between a Pergola and House Matters
Adding a pergola is a great way to enhance your outdoor space, but spacing it too close to your house can lead to moisture problems, airflow issues, or even code violations. Here’s why clearance is non-negotiable:
It prevents water from pooling or leaking into your siding or windows.
It allows for proper air movement and helps prevent mildew.
It provides room for home maintenance—like cleaning gutters or painting trim.
Ignoring clearance requirements may also lead to violations of local building regulations, especially when installing covered pergola kits or larger structures.
Recommended Spacing Guidelines
While the exact clearance may vary based on your pergola’s design, a few general rules apply:
Horizontal clearance: Leave 2 to 4 inches between the pergola’s header beam and the house wall if attaching directly.
Vertical clearance: Keep at least 8 to 12 inches between the top of your pergola and any roof overhang, soffit, or gutter.
This spacing protects both structures and ensures proper water flow. If you're using a pergola with adjustable brackets, this buffer can be easier to fine-tune during installation.
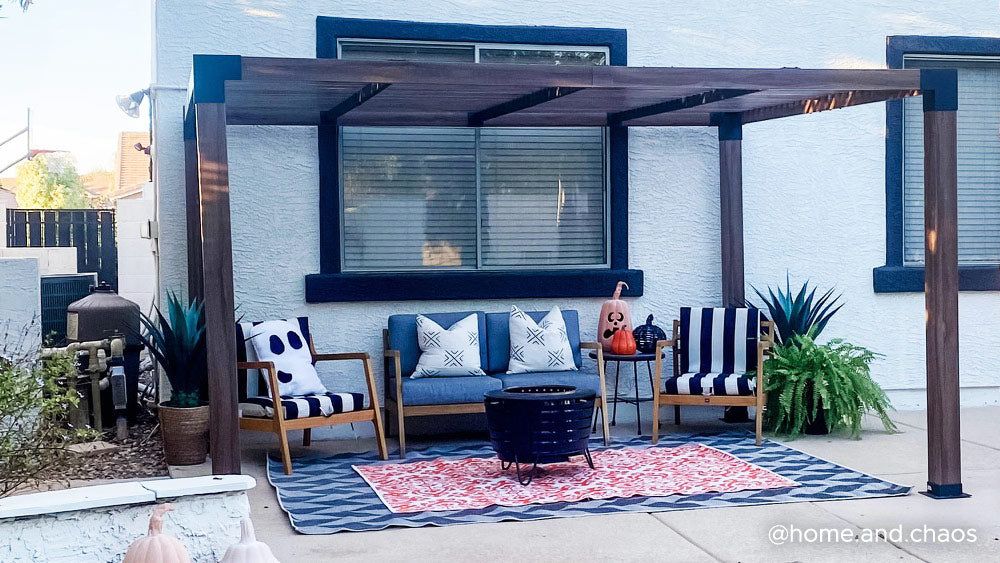
Building a Pergola Close to the House
When installing a pergola directly next to or attached to your home, consider the following tips:
Use corrosion-resistant mounting hardware to prevent water damage.
Ensure your anchor points are into studs or masonry, not just siding.
Add flashing or sealant where pergola hardware meets the home to stop water leaks.
Use brackets or spacers to maintain consistent clearance during installation.
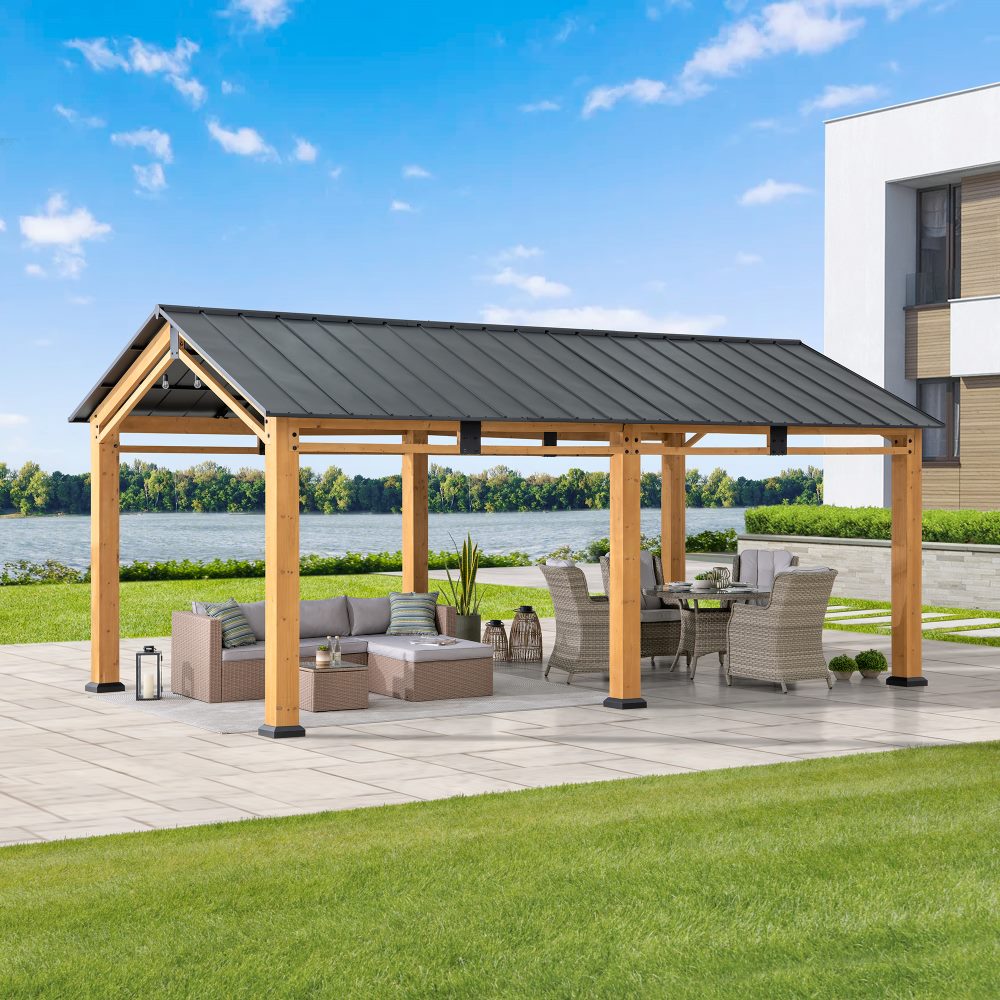
Many wooden pergola kits come with built-in mounting solutions, which help keep spacing uniform and secure.
Drainage & Ventilation Considerations
Close clearance isn’t just about structure—it's also about weatherproofing. Pergolas can interfere with existing drainage if installed too high or too close to the roofline.
Tips:
Make sure gutters can still drain properly.
Position sloped pergola roofs to divert water away from the home.
Use vented roofing or louvers if you’re installing a covered pergola kit, especially in humid areas.
Good airflow between the pergola and house helps prevent mold, mildew, and premature rot—especially if you're building with wood.
Freestanding vs. Attached Pergolas
If clearance or code issues make wall attachment tricky, consider a freestanding pergola for deck or patio areas. These can be installed close to the house but without the structural tie-in.
Benefits include:
Easier code compliance
More flexible placement
No permanent alterations to your home’s exterior
Backyard pergola kits often include modular designs for flexible setups, ideal for freestanding use.
Tools & Add-ons That Can Help
To make sure your pergola is safely installed and spaced, you may want:
Laser level or plumb line to check spacing
Pergola with adjustable brackets for fine-tuned mounting
Post bases to keep wooden posts from rotting on decks
Flashing tape or silicone to seal around hardware entry points
These small upgrades go a long way in ensuring durability and minimizing weather-related wear.
Mistakes to Avoid
Don’t make these common pergola installation mistakes:
Installing too tight against the siding (can trap water and debris)
Blocking window access or venting
Placing beams under roof drip lines with no drainage
Overlooking utility access (e.g., outdoor lighting, outlets)
Clearance isn’t just about measurements—it’s about protecting both your pergola and your home in the long term.
Conclusion: Space It Right from the Start
So, how much clearance should there be between a pergola and your house?
Plan for at least 2–4 inches horizontally and 8–12 inches vertically. This spacing helps protect your home, ensures better airflow, and supports long-term use.
Whether you're setting up a wooden pergola kit, mounting a pergola for deck use, or choosing from covered pergola kits, the right clearance is key to getting the best return on your investment—and a structure you can enjoy for years to come.