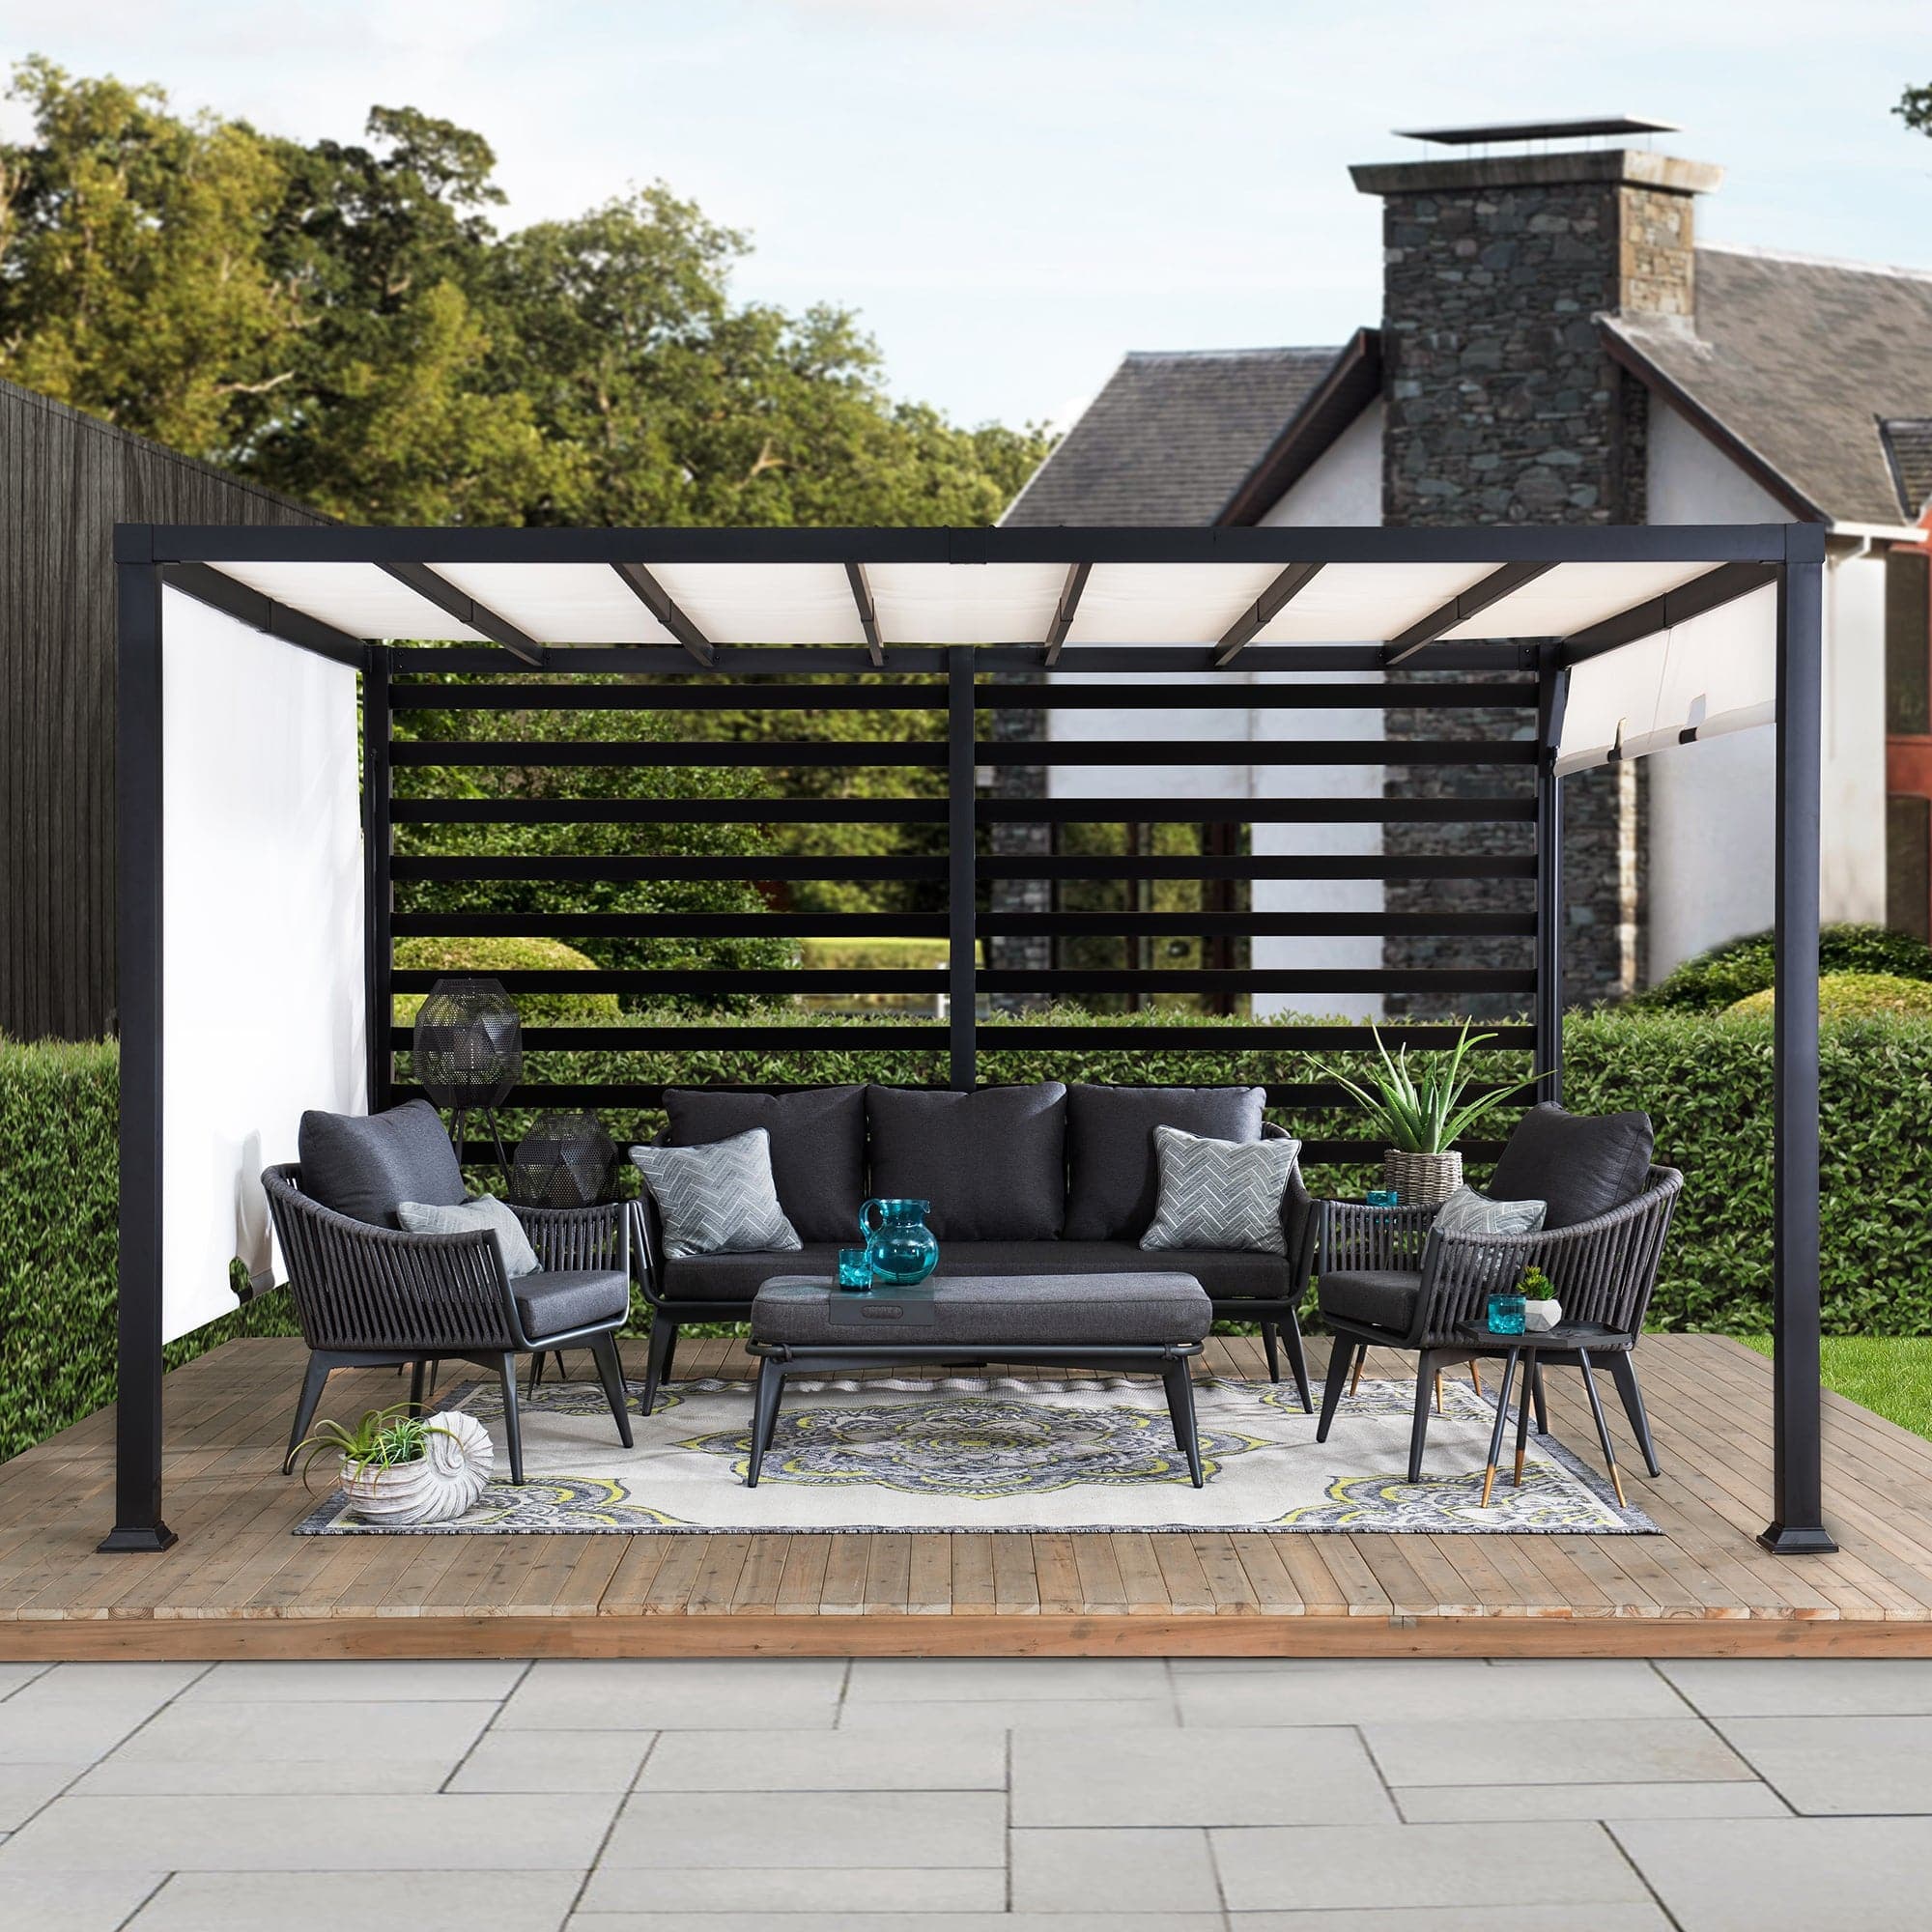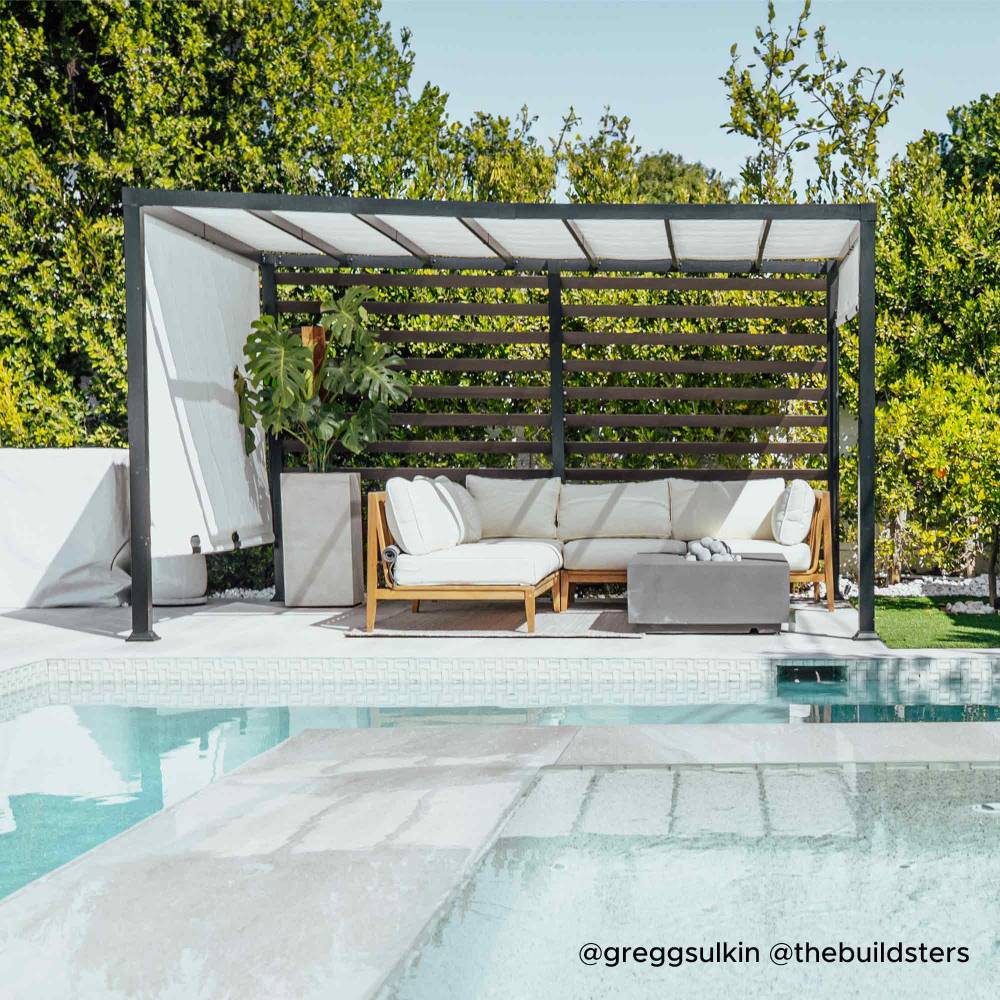
Adding a roof to your gazebo is a smart investment that enhances both its durability and year-round functionality. Whether you're installing a metal roof, polycarbonate panels, or a steel structure, a hard-roof gazebo offers long-lasting protection from the elements and elevates the style of your outdoor space.
In this comprehensive guide, we’ll walk you through everything you need to know—from planning and materials to installation—ensuring a safe and polished final result that suits your local climate and backyard design.
Why Choose a Hard-Roof Gazebo?
A hard roof offers superior coverage compared to fabric canopies or open designs. Here’s why many homeowners are making the switch:
Weather Protection: Hard roofs can withstand heavy rain, wind, snow, and prolonged sun exposure—ideal for areas with variable climates.
Longevity: Unlike fabric covers that wear out over time, materials like steel and polycarbonate last for years with minimal upkeep.
Aesthetic Appeal: A hard roof gives your gazebo a more permanent, upscale look—great for increasing curb appeal or complementing a deck or patio area.
Versatility: With better insulation and coverage, you can enjoy your gazebo in more seasons—perfect for entertaining, relaxing, or even outdoor dining.
Materials and Tools You’ll Need
Before you begin, gather all required materials and tools to ensure a smooth installation process.
Essential Materials:
Roofing panels: metal, polycarbonate, or steel
Pressure-treated support beams (if reinforcement is needed)
Corrosion-resistant screws and nails
Sealant and roofing adhesive
Waterproofing tape (for seams and joints)
Edge trim and flashing for a clean finish
Tools:
Tape measure, level, chalk line
Circular saw or metal snips (depending on material)
Power drill and bits
Ladder or scaffolding
Safety gear: gloves, goggles, harness (if needed)
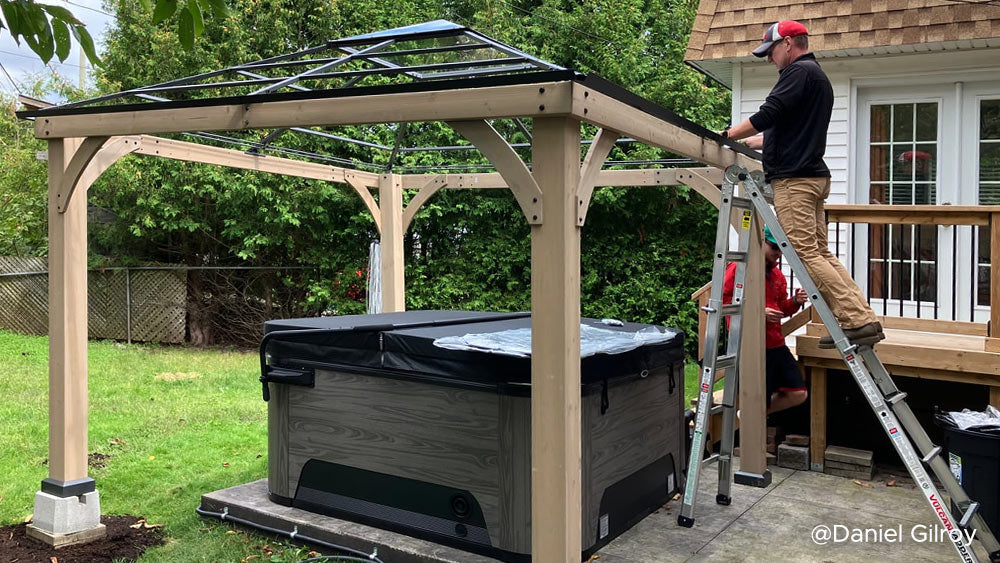
Step 1: Measure and Plan
Start by accurately measuring your gazebo to determine the amount of roofing material required. The planning stage is crucial for ensuring a solid and leak-free build.
Measure length, width, and pitch of your current structure.
Choose a roof style based on your needs and the existing frame:
Flat roof: Simple to build but less effective for rain runoff.
Gabled roof: Offers better drainage and a more traditional look.
Sloped roof: Ideal for snowy or rainy regions.
Check the load-bearing capacity of your frame, especially for heavier options like steel roofs. Reinforce if necessary.
Tip: Always allow a slight overhang to direct water away from the structure.
Step 2: Install Support Beams (If Required)
Depending on your gazebo’s current frame and the weight of your roofing material, additional support may be necessary.
Install cross beams or rafters if your existing structure isn’t rated for a hard roof.
Use galvanized brackets and bolts for secure connections.
Double-check all beams are level and square before proceeding.
Reinforcement is especially important for gazebos installed on decks, where extra weight can impact overall stability.
Step 3: Attach Roofing Panels
Different materials require specific installation techniques. Below are tailored instructions for each type:
Metal Roofing Panels:
Start from the bottom edge and overlap each panel to prevent leaks.
Secure panels with self-tapping, corrosion-resistant screws at each rib.
Use roof flashing at the peak and corners for added weatherproofing.
Polycarbonate Roof Panels:
Install with the UV-protected side facing up (often marked by a sticker).
Allow for expansion gaps between panels, especially in hot or humid climates.
Use rubber washers under screws to prevent cracking and to absorb movement.
Avoid overtightening, which can warp the panels over time.
Steel Roof Panels:
Pre-drill holes to reduce pressure on the material and avoid bending.
Seal seams using waterproofing tape and apply roof sealant around fasteners.
Handle panels with care—steel edges can be sharp.
Step 4: Finishing Touches
Once the roof is in place, finish the job with a few final adjustments that ensure a clean look and lasting performance.
Apply sealant along all edges, fasteners, and joints.
Add trim or edging to conceal sharp cuts and improve aesthetics.
Inspect the entire roof for:
Loose screws
Uneven panels
Gaps that could allow water in
Regular maintenance will extend the life of your gazebo roof. Check it seasonally for wear and tear.
Conclusion: Enjoy a Durable, Stylish Outdoor Shelter
Building a roof on your gazebo not only improves its appearance but also transforms it into a functional outdoor living space that can be enjoyed year-round. Whether you choose a metal roof, polycarbonate panels, or a steel structure, each material brings distinct benefits suited for different climates and styles.
By following this step-by-step guide—measuring carefully, reinforcing your frame, and installing the roof with precision—you’ll create a sturdy, weather-resistant gazebo that adds value and charm to your backyard.
Bonus Tip: Local Codes & Permits
Before starting construction, check local building regulations. Some regions may require permits, especially for permanent structures or gazebos with large hard roofs. Always verify local guidelines to avoid issues later on.