Installing a gazebo is one of the most effective ways to elevate an outdoor living space, providing shelter, comfort, and a focal point for gatherings. However, the benefits of a gazebo can only be fully realized if it is anchored properly. Concrete foundations provide the most reliable base for heavy-duty structures, preventing movement, tilting, or even collapse during adverse weather conditions. This comprehensive guide will walk you through the process of anchoring a gazebo to concrete, ensuring both safety and longevity.
1. Preparing for Concrete Anchoring
Proper preparation is the first step toward a successful gazebo installation. It ensures efficiency and minimizes potential errors that could compromise structural stability.
Gather the Right Tools
Working with concrete requires specialized tools to drill accurately and secure anchors. Essential tools include:
- Hammer drill with masonry drill bits: Standard drills can overheat and damage holes in cured concrete.
- Vacuum or air compressor: For clearing dust and debris from drilled holes.
- Torque wrench: Ensures bolts are tightened to manufacturer specifications without over-stressing the concrete.
- Safety equipment: Gloves, safety glasses, and dust masks to protect during drilling.
Choosing the correct tools is critical to achieving a strong and secure installation.
2. Selecting the Appropriate Anchors
The type of anchors you use is crucial for stability and durability. Several options exist depending on the concrete type and gazebo weight:
- Wedge anchors: Ideal for solid concrete; expand inside the drilled hole to create a strong hold.
- Concrete screws or sleeve anchors: Offer flexibility and can be removed if necessary.
For long-term protection against corrosion, always choose stainless steel or galvanized anchors. These prevent rust, maintaining both appearance and structural integrity over time.
3. Positioning the Gazebo
Accurate positioning ensures both structural stability and a visually appealing layout.
Mark the Layout
Assemble the gazebo base and place it in its intended location on the patio. Use a marker to trace the bolt holes on each post’s footplate. Slightly move the posts to allow sufficient space for drilling.
Drill the Holes
- Set the hammer drill to the correct depth, marking the drill bit with tape to prevent shallow holes.
- Keep the drill vertical to maintain straight holes.
- After drilling, use a vacuum or compressed air to remove dust, which can interfere with anchor grip.
Correct hole placement is vital for the gazebo to remain upright and stable over time.
4. Securing the Gazebo to Concrete
Insert the Anchors
Position the gazebo posts back in place and align the footplate holes with the drilled holes. Insert the anchors carefully and tap them flush with the plate using a hammer, taking care not to damage threads.
Tighten and Check Stability
Using a wrench or torque tool, tighten each nut clockwise. This expands the anchor inside the concrete, providing maximum holding strength. Test each post by applying gentle pressure to ensure there is no movement. Following the manufacturer’s torque specifications is essential to avoid cracking concrete or stripping bolts.
5. Maintenance and Safety Considerations
Even properly anchored gazebos require periodic inspections to maintain safety and performance.
Regular Inspections
- Inspect anchors annually, ideally before winter.
- Check for loose bolts, rust, or cracks in the concrete around footplates.
Protect the Concrete
- Prevent water pooling around the posts by applying a clear sealer around anchor points.
- Ensure the gazebo is level during installation to avoid uneven stress on the frame.
Routine checks and preventive measures significantly extend the life of your gazebo.
6. Recommended Gazebo Models for Concrete Anchoring
Selecting a gazebo designed for concrete anchoring simplifies installation and enhances long-term durability.
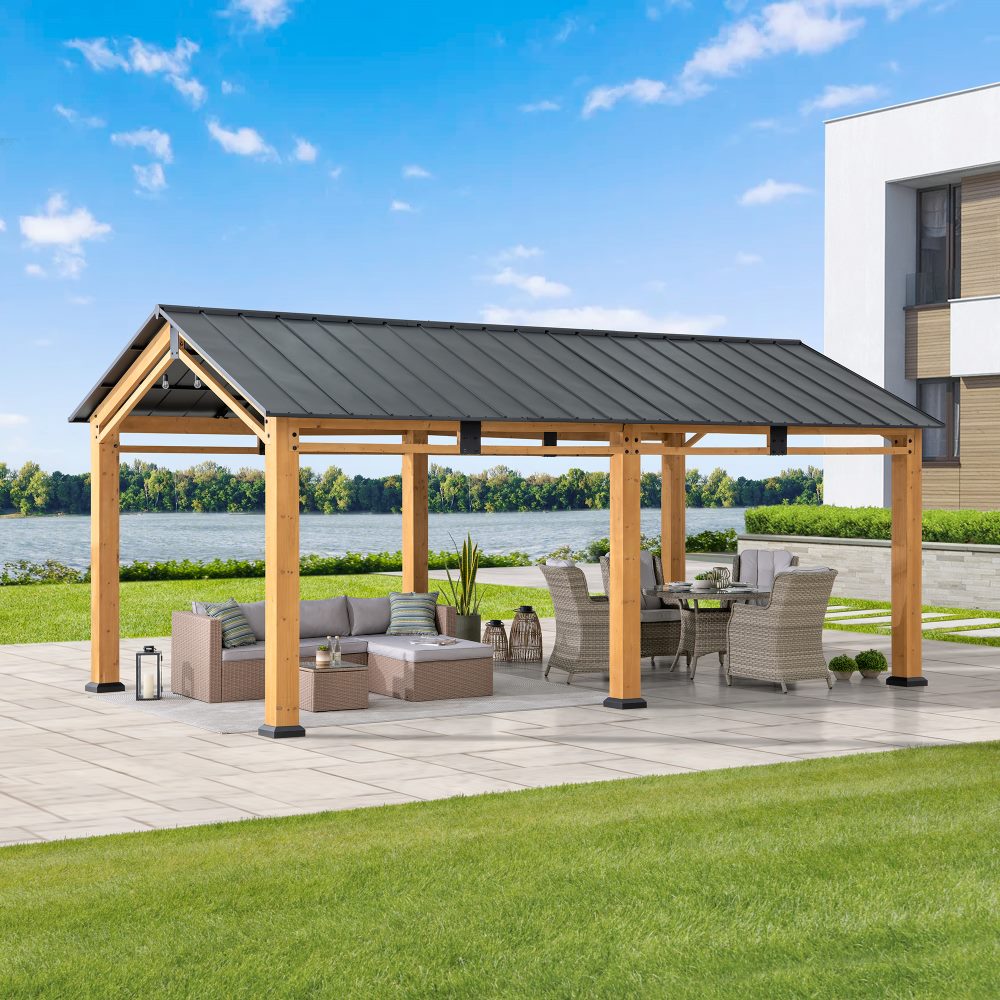
SUNJOY 12x20 ft Cedar Framed Wood Gazebo
- Premium Cedar Frame: Moisture-resistant wood combines elegance and strength.
- Durable Steel Hardtop: Dual-layer roof withstands snow and heavy rainfall.
- Spacious Design: 12x20 ft footprint accommodates full outdoor furniture sets.
-
Built-in Ceiling Hook: Supports lighting or fans for a comfortable ambiance.

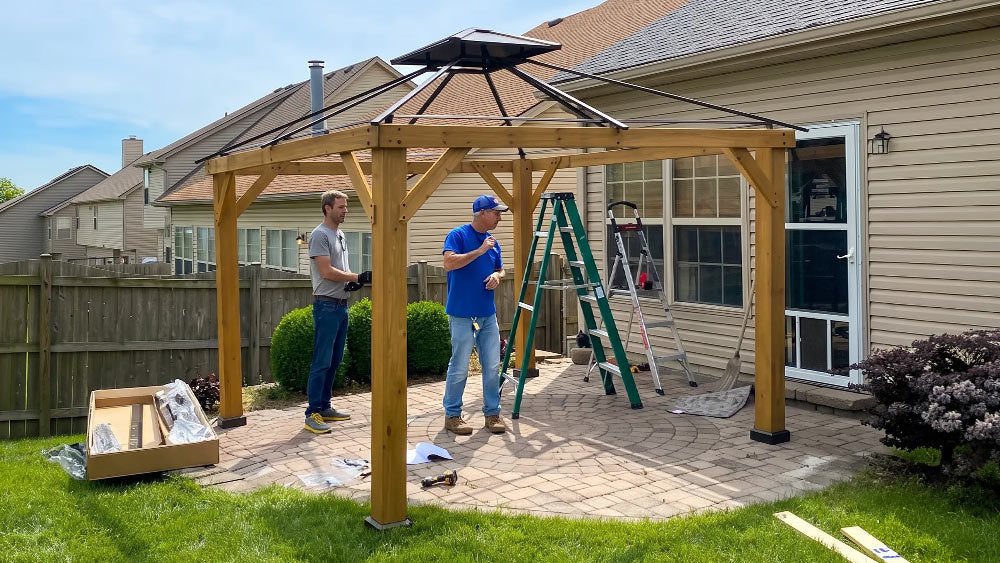
SUNJOY 11x13 Hardtop Gazebo with Solar Panel
- Integrated Solar Power: Powers internal LED lights without external wiring.
- Sturdy Steel Frame: Powder-coated, rust-resistant, lightweight yet strong.
- Weatherproof Hardtop: Protects from rain, wind, and UV rays.
These models are pre-drilled for straightforward concrete anchoring, making the process more accessible for homeowners.
7. Tips for Long-Term Stability
- Always level the gazebo during installation to distribute weight evenly.
- Use high-quality anchors and check torque specifications.
- Inspect and maintain seals to prevent water damage.
- Periodically test stability and tighten bolts as needed.
By following these tips, your gazebo can provide a safe and enjoyable outdoor space for years to come.
Conclusion
Anchoring a gazebo to a concrete foundation ensures safety, stability, and durability, allowing you to enjoy your outdoor living space worry-free. Proper preparation, selecting the right anchors, precise installation, and routine maintenance are key steps to a successful setup. By choosing pre-drilled SUNJOY models designed for concrete anchoring, homeowners can achieve professional results and enjoy a long-lasting, secure structure. With careful planning and maintenance, your gazebo will remain a central feature of your outdoor environment for many seasons.