There’s something deeply satisfying about building your own backyard retreat — especially when that structure becomes a beautiful gazebo. Whether you’re setting it up for family barbecues, weekend lounging, or simply to enjoy morning coffee outdoors, assembling a gazebo can feel like crafting your own sanctuary.
But let’s be honest — opening that box and seeing hundreds of labeled parts can be intimidating.
That’s where this comprehensive gazebo assembly guide comes in. We’ll walk you through each phase — from preparation and tools to smart setup techniques — while ensuring your final structure stands strong, safe, and stunning.
So grab your toolkit, clear your space, and let’s transform that pile of panels and beams into your backyard centerpiece.
1. Preparation: The Secret to a Smooth Assembly
The most common mistake people make is rushing to assemble before preparing properly. A little planning upfront can save hours later.
Choose the Perfect Spot
Start by selecting a flat, level surface with good drainage and ample clearance. Your gazebo should:
Sit at least 3 feet away from walls or fences
Avoid overhead obstructions like tree branches or power lines
Face the direction that captures morning sunlight and evening shade
If you’re installing a hardtop gazebo, remember to check for even flooring — uneven bases can cause misalignment during assembly.
Check the Weather Forecast
A calm, dry day makes a world of difference. Windy or rainy conditions can turn large roof panels into sails — not ideal when handling steel or aluminum components.
Unbox and Organize Components
Before you pick up a single screw, lay out every part on a clean surface. Use the included part labels or manual to:
Count and sort screws, bolts, and connectors
Group parts by section (roof, posts, beams, curtains, accessories)
Keep smaller items in labeled trays to prevent loss
Pro tip: Take a quick photo of each step during unboxing — it helps during troubleshooting and reassembly later.
2. Gather the Right Tools
While many gazebo kits include basic hardware, a few extra tools make the job faster and safer.
Essential Tools:
Electric screwdriver or impact driver
Adjustable wrench set
Rubber mallet (for fitting parts snugly without scratching surfaces)
Step ladder (a must for roof panel installation)
Level or laser level
Safety gloves and eye protection
Optional but Helpful:
Socket wrench for quicker tightening
Drill bits (for pilot holes if necessary)
Cordless light if assembling in low daylight
If you’re assembling a wood-framed gazebo, pre-drilling can help prevent wood splitting and ensure precision.
3. Step-by-Step Gazebo Assembly Process
Every gazebo design is slightly different, but most follow a universal pattern. Here’s a breakdown that applies to most SUNJOY gazebo kits — from steel-framed models to cedar wood pavilions.
Step 1: Secure the Base
A sturdy foundation ensures your gazebo stands strong for years.
Mark your gazebo’s footprint using string or chalk.
Align the base plates or post brackets to the marked spots.
Secure with anchor bolts or concrete screws, depending on your surface type.
If you’re installing on grass or pavers, consider using anchor stakes or weight bags for stability.
Pro tip: Always check alignment before tightening all bolts — minor adjustments early prevent major rework later.
Step 2: Assemble the Frame
Once the base is ready, connect the vertical posts to the base plates. Work with at least one other person — having an extra set of hands makes alignment safer.
Attach crossbeams or lateral connectors to stabilize the frame.
Use the provided washers to prevent over-tightening.
Double-check that all corners are square using your level.
For models like the SUNJOY 13x15 Aluminum Framed Gazebo with Planters, this stage also involves attaching decorative elements such as planters or side rails.
These components not only enhance aesthetics but add stability by distributing structural weight.
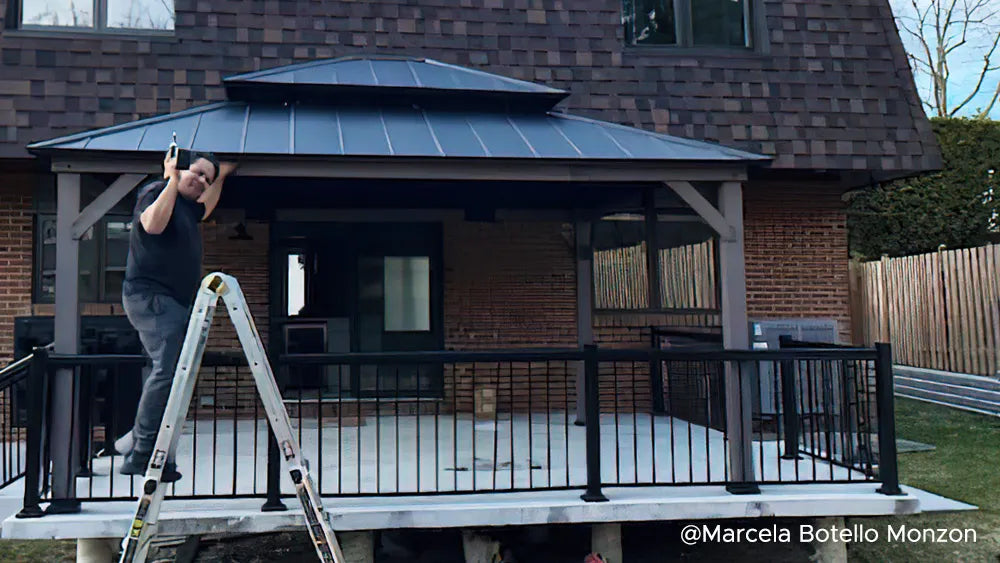
Step 3: Install the Roof Frame
This step requires patience and teamwork.
Connect the roof ribs or rafters at the top hub.
Carefully lift and secure the central roof cap.
Attach each roof support one at a time, moving in a circular pattern to balance weight.
For two-tier roof designs, install the smaller vent roof after the main panels are secured.
Pro tip: Keep protective film on polycarbonate or metal panels until installation is complete to avoid scratches.
Step 4: Add Roof Panels and Finishing Elements
Attach the roof sheets or panels from the center outward.
Depending on the model, panels may be secured with bolts, screws, or snap-in clips.
Tips for Smooth Roof Installation:
Don’t overtighten — expansion from heat may cause warping.
Apply a thin line of weatherproof sealant between joints for added moisture resistance.
Ensure roof drainage holes remain unobstructed.
Once done, install decorative finials, ceiling hooks, or gutter extensions if included.
Step 5: Install Accessories
Your gazebo becomes a complete outdoor retreat once you add the finishing touches.
- Curtains and Netting: Attach to the dual-track system (if available) for flexible coverage.
- Lighting and Ceiling Hook: Most gazebos come with pre-drilled ceiling hooks for hanging string lights or fans. Always use outdoor-rated fixtures.
-
Furniture Setup: Once assembly is complete, position outdoor furniture, fire pits, or swing chairs under your new structure for an inviting layout.

4. Safety and Maintenance Tips After Assembly
Safety Checks
Re-tighten all bolts 24 hours after assembly (metal may settle slightly).
Inspect roof joints for proper fit.
Ensure base anchors are secure before use, especially in windy conditions.
Routine Maintenance
Clean gutters and roof vents periodically.
Wash curtains and netting to prevent mildew.
Apply sealant or rust-resistant coating annually for longevity.
SUNJOY’s gazebos are designed for tool-free maintenance — meaning once it’s assembled correctly, upkeep is minimal and stress-free.
5. Common Assembly Challenges and How to Solve Them
Even the best kits can present surprises during assembly. Here’s how to troubleshoot like a pro:
|
Challenge |
Possible Cause |
Solution |
|
Misaligned roof panels |
Uneven foundation |
Loosen screws slightly, realign using a level, then retighten |
|
Missing or extra parts |
Mixed packaging during unboxing |
Sort all hardware and recheck manual inventory list |
|
Loose joints or wobble |
Bolts not fully tightened |
Use an impact driver to re-secure connections |
|
Difficult fit between beams |
Temperature expansion |
Assemble in shade or cooler hours to minimize metal expansion |
Pro Tip: SUNJOY’s customer service can assist with replacement parts or assembly diagrams — making your setup worry-free.
6. When to Consider Professional Assembly
While DIY assembly is rewarding, large or intricate models might benefit from professional installation — especially hardtop gazebos over 12 feet.
Hire a licensed contractor if:
You’re building on uneven terrain
The gazebo includes electrical elements (lighting, fans, outlets)
You lack the tools or time to complete safely
Many SUNJOY customers choose in-home assembly services, ensuring expert setup while maintaining warranty coverage.
7. Enjoying Your New Gazebo: The Reward of Effort
There’s nothing like the satisfaction of stepping back and admiring your completed gazebo — a structure that represents both craftsmanship and comfort.
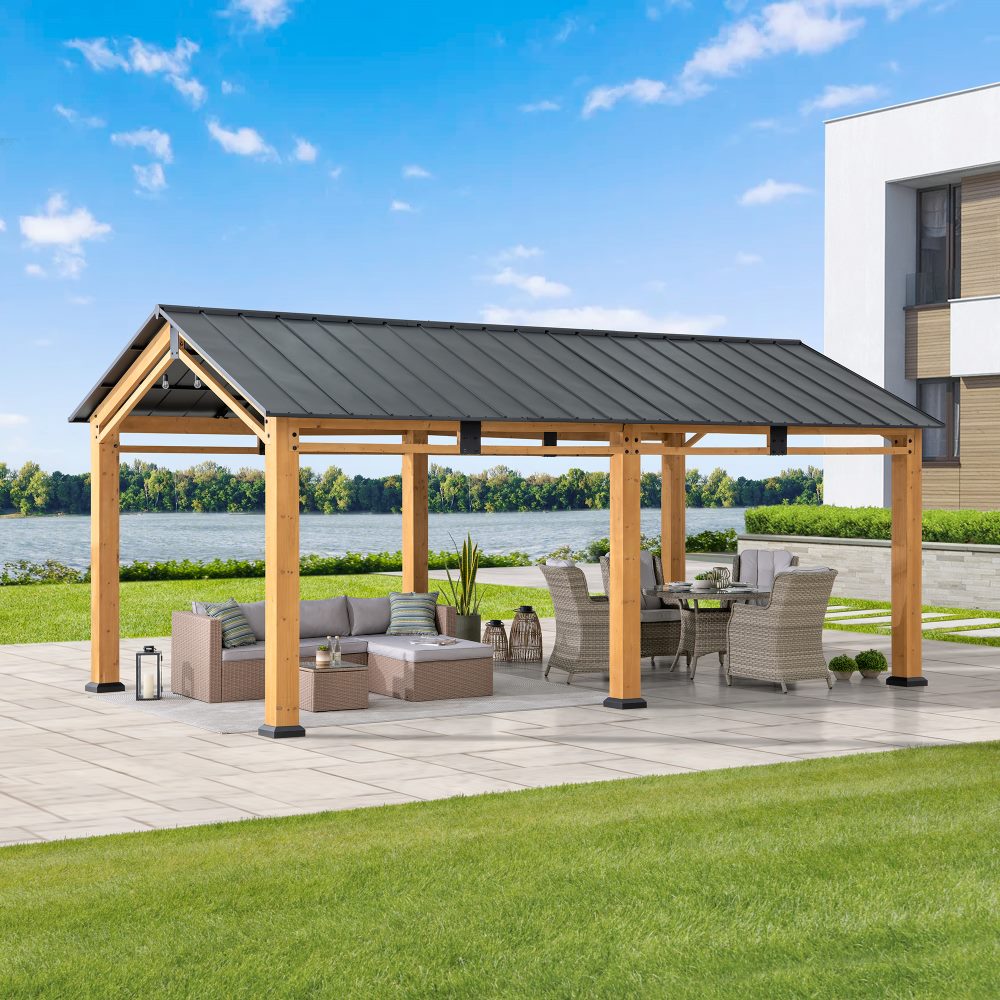
Whether it’s a cedar hardtop gazebo, a steel-framed pergola, or a portable pop-up gazebo, your new outdoor hub is more than just shelter — it’s a lifestyle investment.
Now it’s time to personalize:
- Add planters for greenery
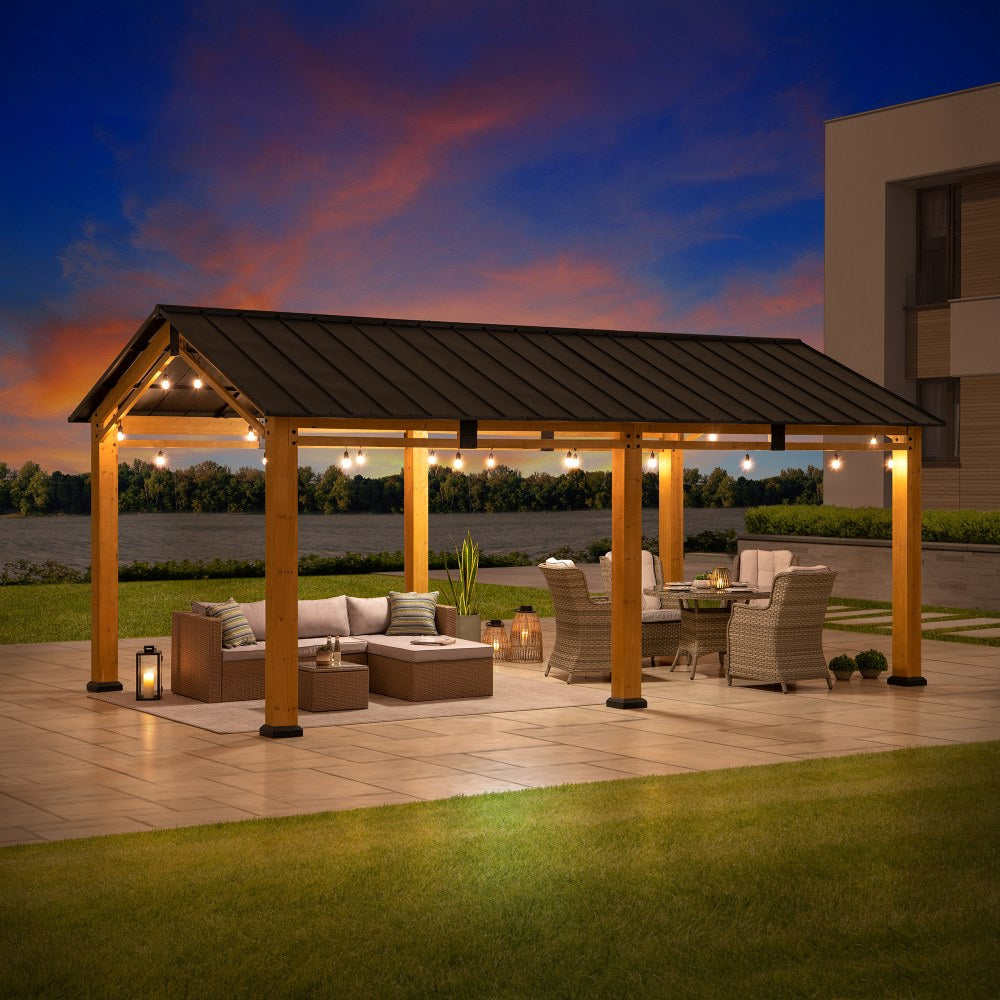
- Incorporate lighting for evening charm
- Place a fire pit or swing for year-round enjoyment
With SUNJOY’s thoughtful engineering and clear assembly design, you’ll have a durable, stylish space that’s ready for endless gatherings.
Conclusion
Assembling a gazebo might seem daunting, but with patience, organization, and the right tools, it’s a deeply satisfying project that transforms your backyard into a personal paradise.
This gazebo assembly guide isn’t just about building — it’s about creating memories. From the moment you anchor the first post to the last screw in the roof, you’re crafting a space built for laughter, meals, and quiet reflection.
With SUNJOY’s pre-drilled designs, easy-to-follow instructions, and high-quality materials, your gazebo is designed to come together seamlessly — and last for years to come.
So open that toolkit, invite a friend, and start building your dream outdoor escape today.